Miscellaneous Items
In this section we will explore the miscellaneous items that don’t specifically fit into previous sections.
User Settings
Your personal user settings can be accessed by clicking the drop down box on your profile:
Settings: To navigate to your personal user settings.
Dark / Light mode: To toggle between dark and light mode.
Log Out: Log out of your COHO account.
User Account Settings
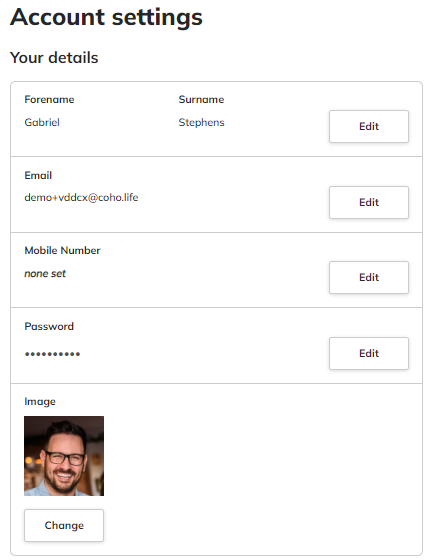
Here you can make changes to your profile such as: Forename, Surname, Email, Mobile Number, Password and profile image.
You are able to configure the notification settings for each panel:
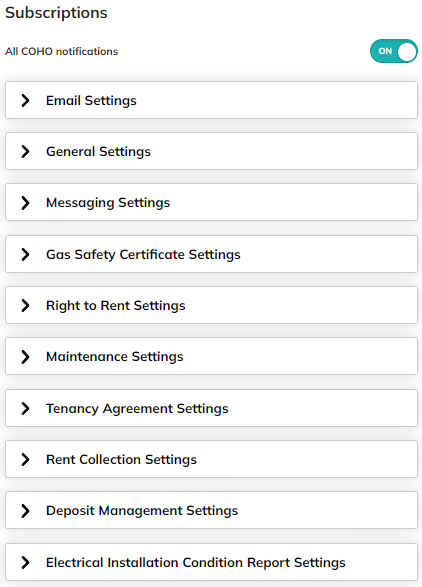
On each section you can choose if notifications are on or off for your user profile.
All notifications are sent via email. If you have the COHO app installed on your smartphone, you can also choose if you want to receive push notifications.
Default (Grouped): This is the default overall notification for the whole section. i.e., instead of having to go into each section and set it manually.
(Grouped): The system will wait a while to gather all notifications within the section and send them as a whole. For example, you'll have an email saying 'You have XX new actions'
Immediately: This will send the notification as soon as it is triggered. Each action will have it's own notification email.
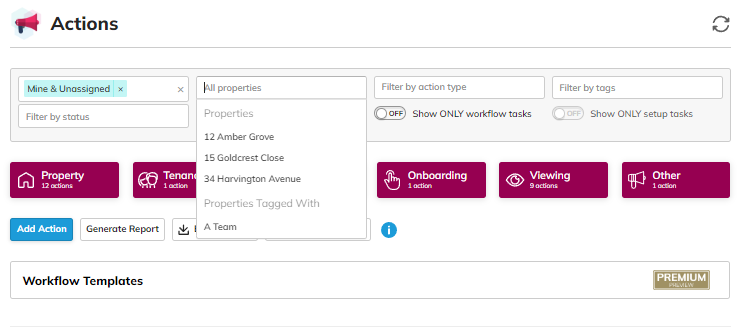
Tagging
COHO gives you the ability to add tags to certain items. You can then use these tags to filter in various panels over the account.
Property Tagging
For example, if you navigate to any property, you will see that you can ‘start tagging’ the property.
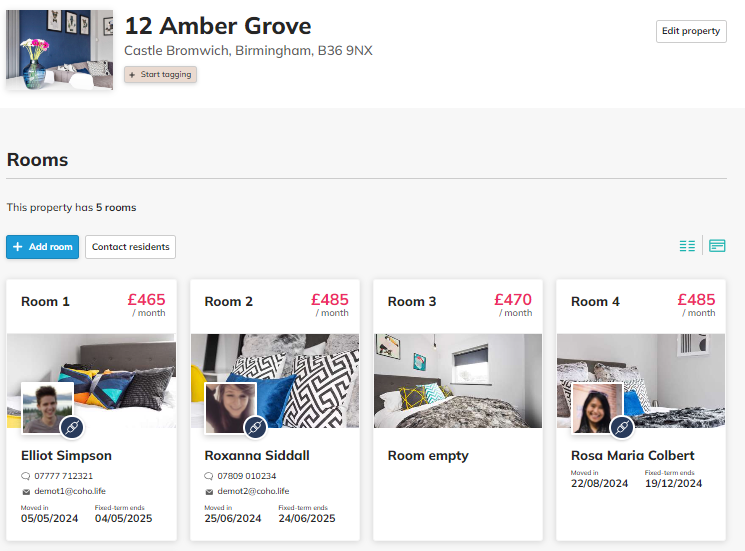
Here we can ‘add property tag’. Multiple tags can be added to a property.
An example of tags can include the property owners name or the team within the organisation responsible for the property. Once a tag has been created, the next time you go to add a tag elsewhere, it will appear when you start to type it.
Once tags have been added to the property, you will then see filtering options for that tag in any panel in COHO that has filtering options.
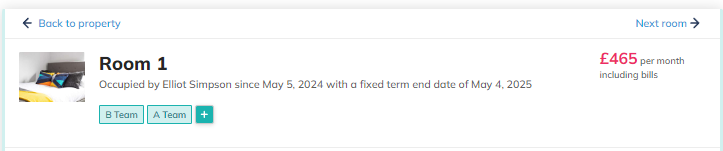
Room Tagging
Tags can be used at room level.
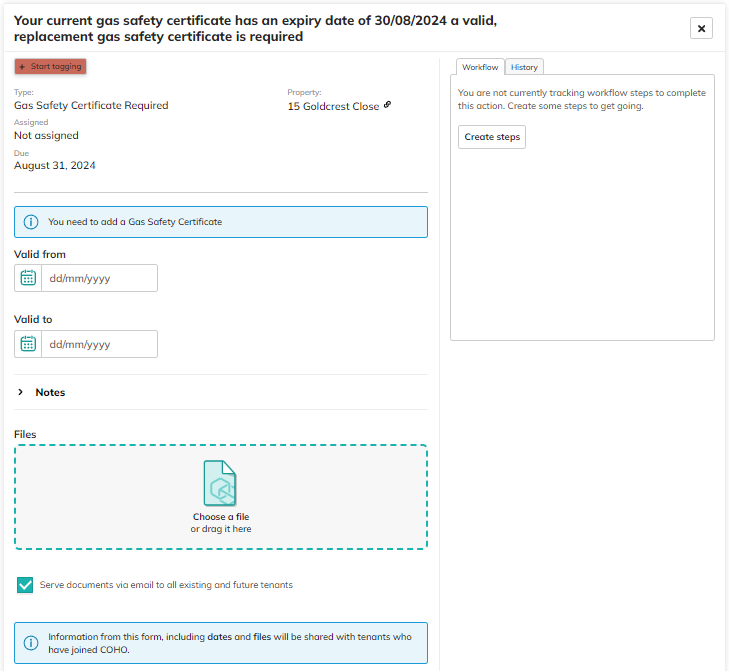
Compliance Tagging
Tags can be added to renewal compliance documents when adding them via the Actions panel.
Happy Face
The Happy Face Icon can be found on the menu bar at the top right of your account:
Feedback & Suggestions: We love to hear your feedback and suggestions here at COHO so please leave us a message!
Training Manual: Direct link to this guide.
Troubleshooting: Direct link to our troubleshooting guides.
COHO on YouTube: Here you can click through to the COHO YouTube page. It is packed full of useful content on how to use the system, interviews with our customers as well as video content on the HMO Awards hosted by COHO.
Get Support: Here you can send the COHO team a support message.
Bell Icon
The Bell Icon can be found on the menu bar at the top right of your account:
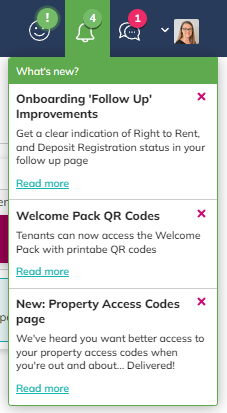
This handy drop down gives you links to the latest news and feature releases.
Deactivating a property / room
In some circumstances you may need to deactivate a property on COHO. This might be due to not managing the property any longer or keeping it off the market whilst refurbishments take place.
In order to deactivate a property or room, you must ensure that all tenancies are terminated first. See also Tenancy Summary & Information.
Deactivate property:
Navigate to the Property Details panel
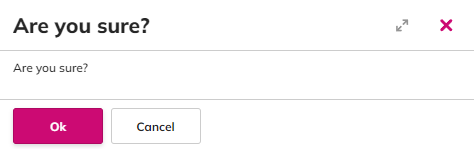
Click ‘deactivate property’.
Once you click ‘Ok’, the property will appear ‘greyed out’ on your Properties panel.
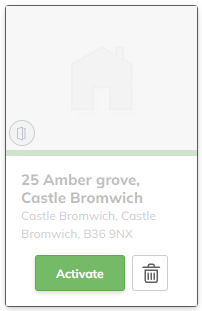
Activate: Activates the property back to its original state. All documents and information added will be saved.
Bin Icon: This will delete the property from the system. All documents and information added will be lost.
Deactivate a room:
Navigate to the ‘Room Details’ panel.
Click ‘Deactivate room’.
Once you click ‘Ok’, the room will appear ‘greyed out’ on the property page. From there the room can be reactivated or deleted from the system completely.
Active / Inactive Services
At the bottom of every property page, you will see the Active and Inactive Services on the property.
Most panels in COHO have a Settings Cog that can be configured. If the setting has been configured to be turned off, you will find the Inactive Service in this section. By clicking ‘read more’ you will be able to turn the service back on.
Related Articles
Recurring Items
The recurring items panel is to be used to create recurring tenancy transaction items. For example, Parking charges, Utility charges, Cleaning charges or Service Charges. Recurring Items will automatically be added to a tenants rent schedule. NB. ...Finances
The Finances panel in COHO allows you to record your outgoing expenses to produce financial reports. It is important to note that in order to start using the Finances panel, you will need to set the Property Ownership for each property. See also ...Inventory Builder & Inventory
The Inventory Builder panels can be found on each property level. This is where you will create an inventory template that covers the communal areas of the property (kitchen, bathroom etc) or create a template for the individual rooms (bed space, ...Property Compliance
In this section we will look at all compliance document panels at property level. Gas Safety Certificate (GSC) Click into the property you wish to add a Gas Safety Certificate for and navigate to the Gas Safety Certificate panel. Click to ‘show panel ...Suppliers
The suppliers panel in COHO can be used to keep an up to date record of all trades persons or suppliers you have dealings with. By storing the information in COHO you can ensure that all team members have access to supplier contact details. The ...